

Discovering a crack, hole, or yellowed panel in your polycarbonate greenhouse can send a shiver down any gardener’s spine. That single breach compromises the entire controlled environment you’ve worked so hard to create, threatening your tender seedlings and prized plants with drafts, moisture, and pests. But here’s the good news: replacing a damaged polycarbonate panel is a very manageable DIY project. With the right preparation, tools, and a methodical approach, you can restore the integrity of your structure efficiently and cost-effectively. This guide will walk you through every critical step, from diagnosing the problem to executing a flawless, weather-tight installation that will have your greenhouse functioning like new, protecting your garden’s future.
Assessing the Damage and Sourcing the Correct Panel
Before you grab your tools, take a moment to properly assess the situation. Not all damage requires a full panel replacement. Small punctures or hairline cracks can sometimes be temporarily sealed with clear, UV-resistant polycarbonate repair tape or a specialized sealant designed for plastic glazing. However, for cracks longer than a few inches, panels that are severely yellowed and brittle from UV degradation, or holes that compromise insulation, replacement is the only permanent solution. Your first task is to identify the exact type of polycarbonate you have. The most common types are single-wall (often used for cold frames and smaller garden structures), twin-wall (double-layer with ribs, offering excellent insulation), and multi-wall (three or more layers for superior strength and thermal efficiency). Measure the thickness (e.g., 4mm, 6mm, 8mm, 10mm), the exact width and length, and note the color—typically clear, opal, or bronze. Also, examine how the panel is currently secured: is it held with aluminum profiles, screw-and-washer systems, or H-channel connectors? Taking clear photos and notes will be invaluable when sourcing your replacement.
Gathering Your Tools and Safety Equipment
Success hinges on having the right gear. Trying to improvise can lead to a poor fit, water leaks, or even damage to the new panel. Your essential toolkit should include a cordless drill with driver bits, a utility knife with plenty of fresh blades, a fine-tooth saw or a polycarbonate cutting tool for trimming, a tape measure, a silicone gun, and a soft-bristle brush. For fasteners, you’ll need the appropriate screws—always use self-tapping screws with a bonded washer specifically made for polycarbonate to prevent overtightening and cracking. You will also need a high-quality, UV-resistant silicone sealant formulated for polycarbonate or polycarbonate-specific EPDM sealing tape for the edges. Safety is non-negotiable. Polycarbonate sheets can have sharp edges, and debris can fall. Wear safety glasses, sturdy work gloves, and long sleeves. If you’re working on a roof panel, ensure your ladder is stable and you have a helper to assist with handling the large, sometimes awkward sheets.
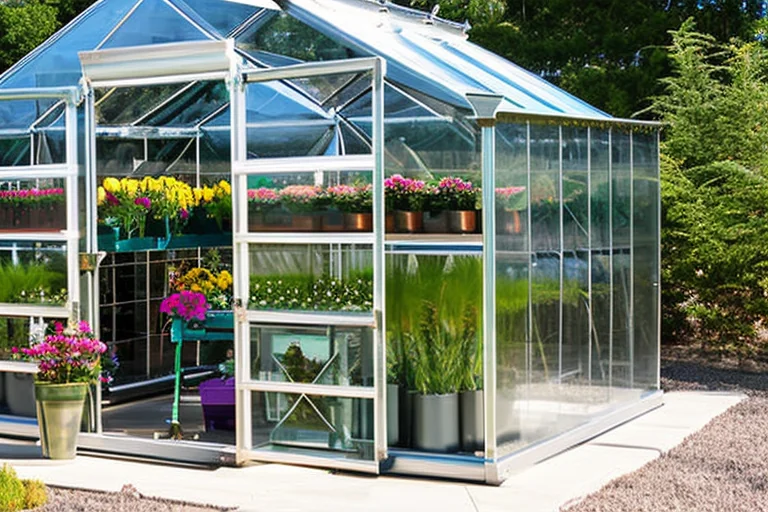
Step 1: Safe Removal of the Damaged Panel
Begin by carefully removing any external trim, cap profiles, or sealant beads holding the panel in place. Use a flathead screwdriver or a trim removal tool to pry gently, avoiding damage to the aluminum frame. Next, methodically remove the screws. It’s crucial to support the panel as you do this to prevent it from suddenly falling inward or outward. Have your helper hold it securely. If the panel is badly cracked, you may need to break it into smaller, manageable pieces within the frame using gloves and extreme caution. Once the panel is free, thoroughly clean the frame channel. Remove all old sealant, debris, and any rust from screws or metal contacts. This is a critical step for ensuring a clean seat for the new panel and preventing future corrosion. A clean, dry channel is the foundation of a waterproof installation.
Step 2: Preparing and Fitting the New Panel
Unpack your new polycarbonate sheet in a clean, flat area. Remember, one side has a UV-protective coating; this side must face outward. The protective film is usually labeled. Do not remove this film until after installation is complete to prevent scratches. Place the new panel over the opening to check the fit. It should sit flush within the frame channel with a slight expansion gap (typically 3-5mm per side) as recommended by the manufacturer. Polycarbonate expands and contracts with temperature changes, and this gap is essential. If trimming is needed, score and snap for thin sheets or use a fine-tooth saw, supporting the sheet fully to prevent vibration and chipping. Before placing the panel into the frame, apply a continuous bead of silicone sealant along the bottom channel or attach the polycarbonate sealing tape to the edges that will contact the frame. This creates the primary moisture barrier.
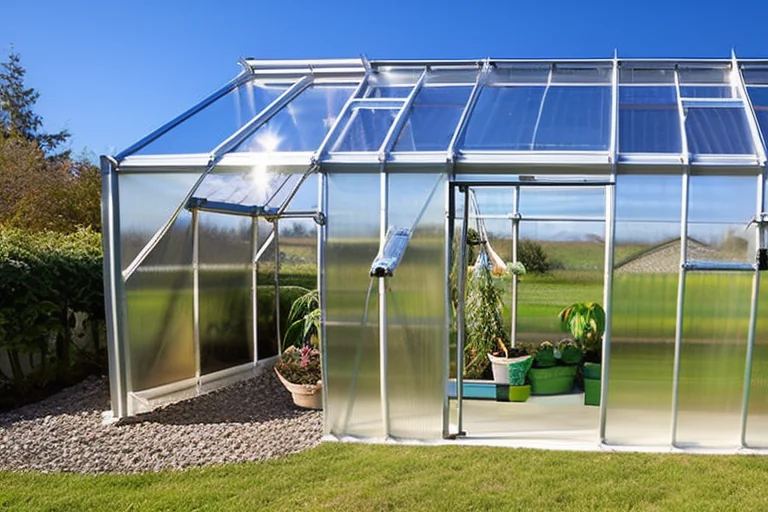
Step 3: Secure Installation and Final Sealing
Carefully lower the new panel into the frame, ensuring the UV-coated side is facing out. Press it down firmly into the sealant bed. Starting at one corner, begin securing it with the screw-and-washer system. Do not overtighten! The washer should compress to form a seal, but the screw head should not dig into the polycarbonate. A good rule is to stop tightening as soon as you feel significant resistance. Follow a pattern, working from the center outwards or from one edge diagonally to the other, to avoid creating stress points. Once all screws are in place, apply a thin, neat bead of sealant along the top exterior joint where the panel meets the frame and around any other potential water entry points. Reinstall all trim pieces and end caps. These not only provide a finished look but also add an extra layer of protection against wind and water ingress.
Post-Installation Check and Preventing Future Damage
Your job isn’t quite done after the last screw is in. Perform a thorough inspection. Check all seals visually for gaps or bubbles. When it next rains, go out and inspect the interior for any signs of dripping—a quick leak test is the best way to confirm your work. Finally, you can carefully peel off the protective film from both sides of the panel. To prevent a repeat performance, consider what caused the initial damage. Was it a falling branch? Consider trimming nearby trees. Was it hail? While polycarbonate is impact-resistant, extremely severe weather can still cause damage. Regular maintenance is your best defense. This includes gentle cleaning to maintain light transmission and checking the tightness of all frame fasteners seasonally. Ensure your greenhouse structure is sound, with no loose brackets or sagging elements that could put uneven pressure on the panels.
Knowing When to Call a Professional
While this guide empowers you to handle most standard replacements, some situations call for expert help. If the damage is extensive, involving multiple panels or a compromised structural member of the frame, a professional assessment is wise. If your greenhouse is very large, tall, or complex in design, the risk of working at height or handling extremely large panels may outweigh the DIY benefit. Additionally, if you are unsure about the specific panel type or sourcing a correct match, consulting with the original manufacturer or a specialist supplier can save you time, money, and frustration in the long run, ensuring your repair is both durable and correct.
Successfully replacing a damaged polycarbonate panel is a rewarding project that extends the life of your greenhouse and safeguards your gardening investment. By following these detailed steps, you ensure a professional-quality repair that restores optimal growing conditions. For more insights on maintaining a perfect environment year-round, explore our full library of expert guides. If you’re considering an upgrade, need specific replacement parts, or want professional advice on a complex repair, our team is here to help. Browse our extensive collection of greenhouse kits and components to find everything you need, or contact our greenhouse experts directly for personalized support on your next project.
 English
  Spanish
  French
  German
  Portuguese
  Arabic
  Russian
  Chinese