
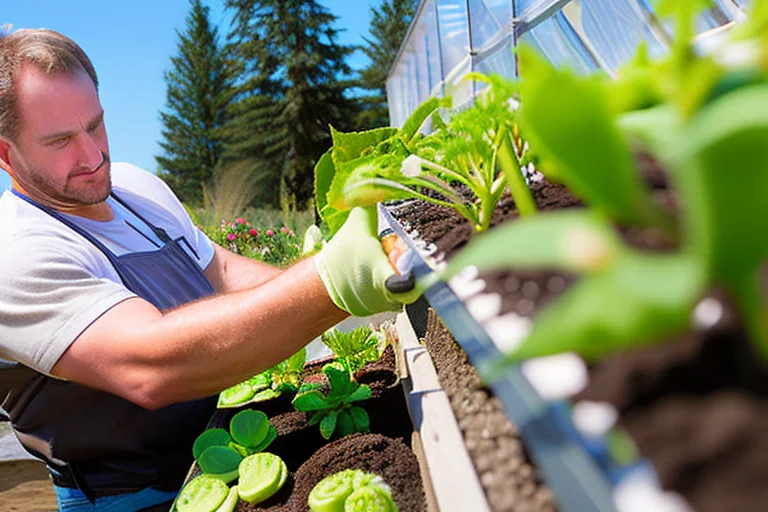
There’s a special kind of magic in planting a tiny, dormant seed and watching it transform into a robust plant that will feed your family or fill your garden with color. While you can start seeds on a sunny windowsill, a home greenhouse elevates this process from a hopeful experiment to a reliable science. It gives you complete control over the most critical factors for germination and early growth—temperature, moisture, and light—effectively turning you into the master of your own microclimate. This guide will walk you through every step to ensure your seed-starting venture is not just successful, but exceptionally rewarding, leading to the healthiest seedlings you’ve ever grown.
Why a Greenhouse is Your Secret Weapon for Seed Starting
Starting seeds indoors is common, but a greenhouse offers distinct, game-changing advantages. First, it provides abundant, diffused natural light from all angles, preventing the leggy, weak growth common in seedlings straining toward a single window. The enclosed environment protects tender sprouts from unpredictable spring weather, pests, and harsh winds. Most importantly, it allows you to manage heat. Many seeds require specific, warm soil temperatures to germinate reliably. In a greenhouse, even on a cool day, the sun’s energy is captured and retained, creating that perfect warm, humid environment seeds crave. This controlled head start means you can sow earlier, grow stronger plants, and extend your growing season significantly, giving you first pick of ripe tomatoes and an endless supply of fresh greens.
Laying the Groundwork: Planning and Preparation
Success begins long before you open a seed packet. Start by reviewing your garden plan and creating a seeding calendar. Count backward from your area’s last average frost date to determine when each type of plant should be started. Tomatoes and peppers might need 6-8 weeks indoors, while quick-growing cucumbers may only need 3-4. Next, gather your supplies. You’ll need clean seed trays or pots, a high-quality seed-starting mix (not garden soil, which can harbor diseases), labels, a watering can with a fine rose, and a source of bottom heat like propagation mats for heat-loving crops. Organizing a dedicated space on a bench or shelf in your dedicated growing structure makes the workflow smooth and efficient.
Choosing Your Seeds and Sowing with Care
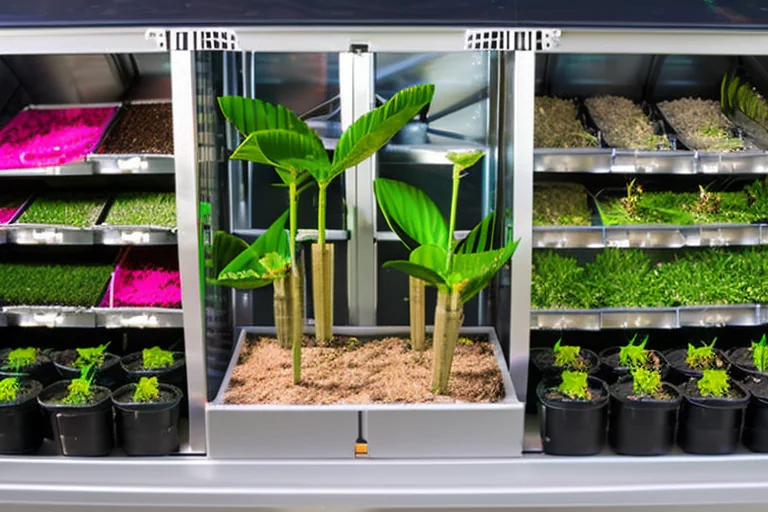
Select seeds from reputable companies, paying attention to days-to-maturity and varieties suited to your climate. When you’re ready to sow, moisten your seed-starting mix thoroughly before filling your containers. Plant seeds at the depth recommended on the packet—a general rule is two to three times the seed’s diameter. Fine seeds can often be lightly pressed into the surface. Label every container immediately; memory is notoriously unreliable in the garden! After sowing, ensure good seed-to-soil contact by gently firming the surface, then water carefully to settle everything in place without washing the seeds away.
Mastering the Germination Environment
This is where your greenhouse truly shines. For germination, consistent moisture and warmth are paramount. Covering trays with a clear plastic dome or plastic wrap creates a mini-greenhouse effect, holding in humidity. Place trays in a warm spot in your greenhouse. Most common vegetables germinate best with soil temperatures between 70-80°F. Using a heat mat underneath provides this consistency, especially for peppers and eggplants. Check daily for moisture, misting if the surface looks dry. The moment you see the first green hooks breaking the soil, remove the cover to prevent fungal diseases and move the trays to a well-lit area.
The Critical Seedling Care Phase
Once germinated, seedlings have new demands. Light becomes the most critical factor. In early spring, the days may still be too short, so supplementing with LED or fluorescent grow lights for 14-16 hours a day prevents spindly growth. Keep the lights just a few inches above the seedlings, raising them as the plants grow. Water from the bottom by placing trays in a shallow dish of water; this encourages deep root growth and keeps fragile stems dry. When the first set of true leaves (the second set that appears) develops, it’s time for a weak dose of half-strength, balanced liquid fertilizer. Good air circulation, provided by a small fan on a low setting, strengthens stems and further prevents disease.
Maintaining the Ideal Greenhouse Climate
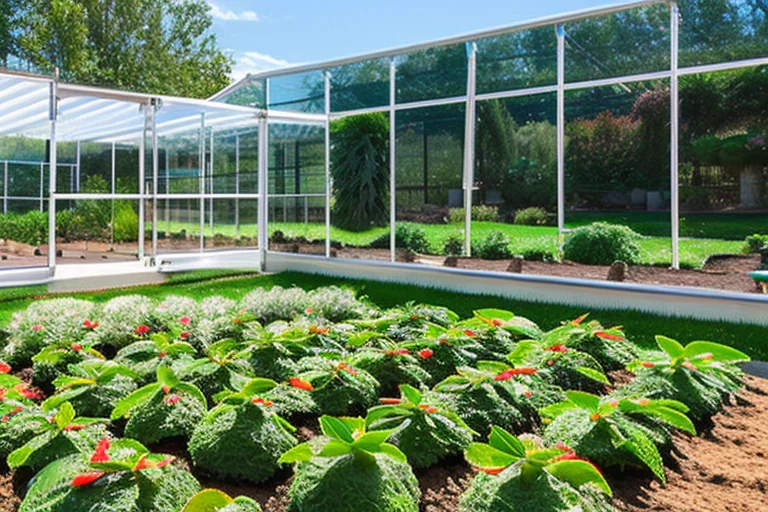
Your polycarbonate greenhouse is excellent at capturing heat, but without management, it can quickly become too hot for delicate seedlings. Ventilation is non-negotiable. Use roof vents, side vents, or a door opened slightly to allow hot air to escape and fresh air to circulate. On sunny days, you may need to provide shade with a cloth or a specialized shade paint to prevent scorching. Conversely, have a plan for cold nights. A small thermostatically controlled heater can protect your investment if temperatures are forecast to plunge. Monitoring tools are invaluable; consider integrating simple digital sensors for temperature and humidity to take the guesswork out of climate control.
Hardening Off and Transplanting Success
Perhaps the most common mistake is moving tender, greenhouse-grown seedlings directly into the garden. They need a gradual transition, or “hardening off,” to acclimate to outdoor sun, wind, and temperature fluctuations. Begin 7-10 days before transplanting. On the first day, place seedlings in a shaded, sheltered spot outside for just a few hours. Gradually increase their time outdoors and exposure to direct sun over the week. Reduce watering slightly to toughen them up, but don’t let them wilt. When transplanting, choose a calm, overcast day if possible. Water the seedlings well before and after transplanting, and protect them with cloches or row cover if a late cold snap is predicted.
Troubleshooting Common Seed Starting Problems
Even with care, issues can arise. “Damping off” is a fungal disease that causes seedlings to collapse at the soil line. Prevent it by using clean containers, sterile potting mix, avoiding overwatering, and ensuring good air flow. Leggy, pale seedlings are crying out for more light—move them closer to your light source or increase duration. If growth seems stunted or leaves are discolored, check your fertilization schedule and ensure you’re not over-fertilizing, which can burn delicate roots. Yellowing lower leaves can often indicate overwatering. Observe your plants daily; they will tell you what they need.
Starting seeds in your home greenhouse is one of the most satisfying endeavors for a gardener. It puts you in the driver’s seat of your food supply and garden beauty from the very beginning. With the controlled environment a greenhouse provides, coupled with these detailed techniques, you’ll consistently produce vigorous, healthy transplants that will thrive in your garden. The initial effort pays dividends all season long in the form of stronger plants, earlier harvests, and the deep satisfaction of having nurtured life from its smallest possible form. Ready to transform your gardening? Browse Our Complete Greenhouse Collection to find the perfect structure for your seed-starting dreams, or View Our Complete Greenhouse Guides for more expert growing tips. Have specific questions? Contact Our Greenhouse Experts for personalized advice.
 English
  Spanish
  French
  German
  Portuguese
  Arabic
  Russian
  Chinese